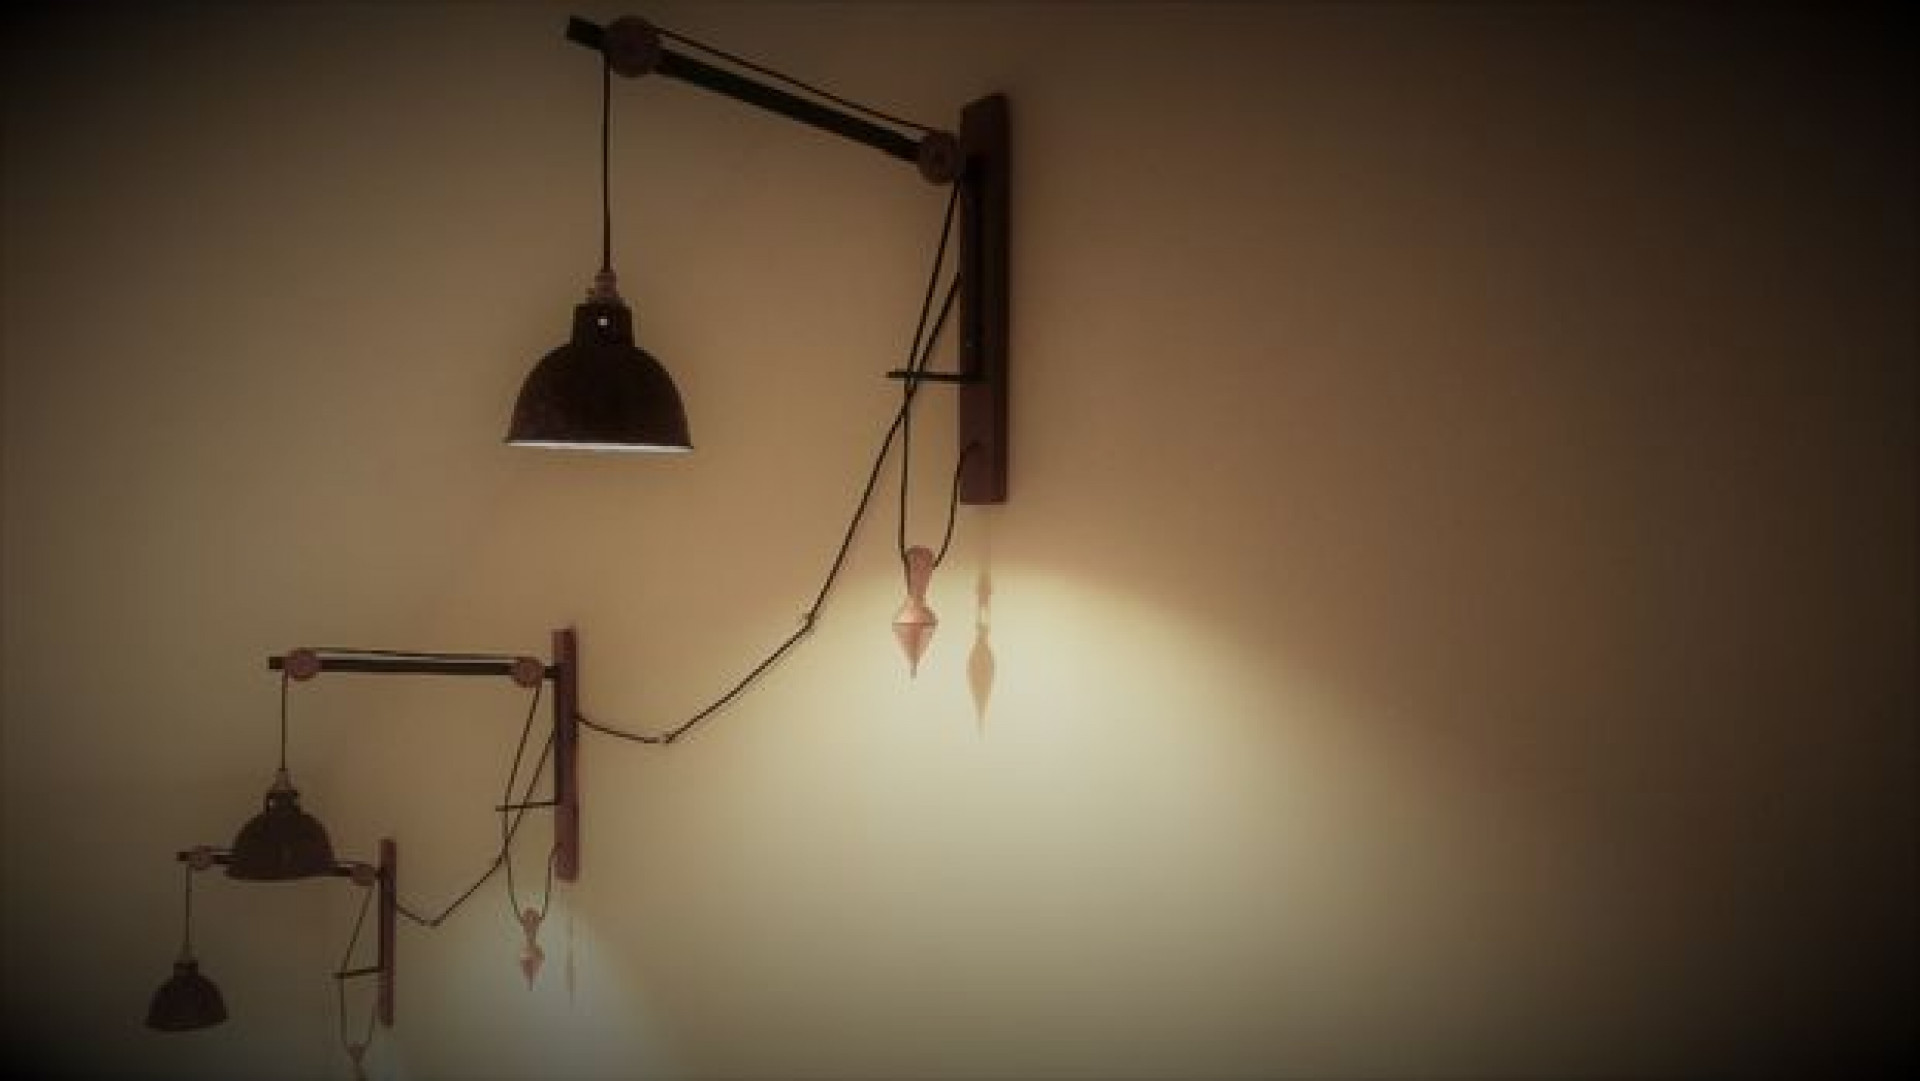
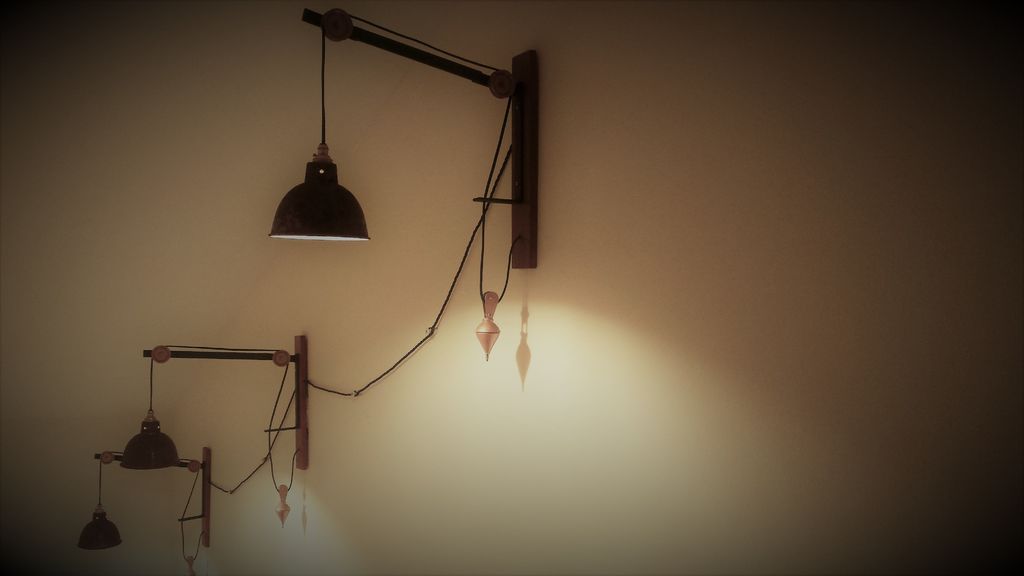
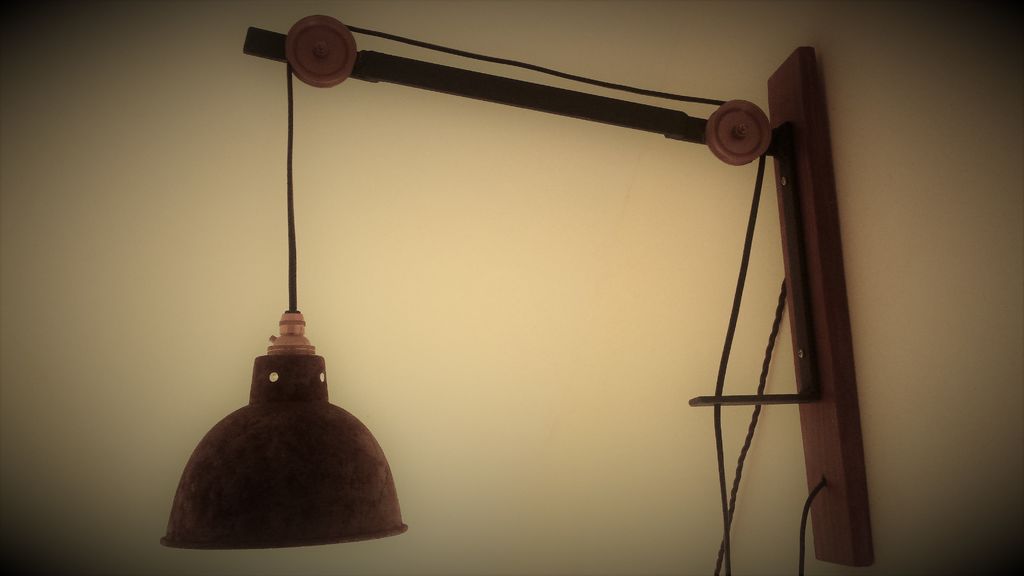
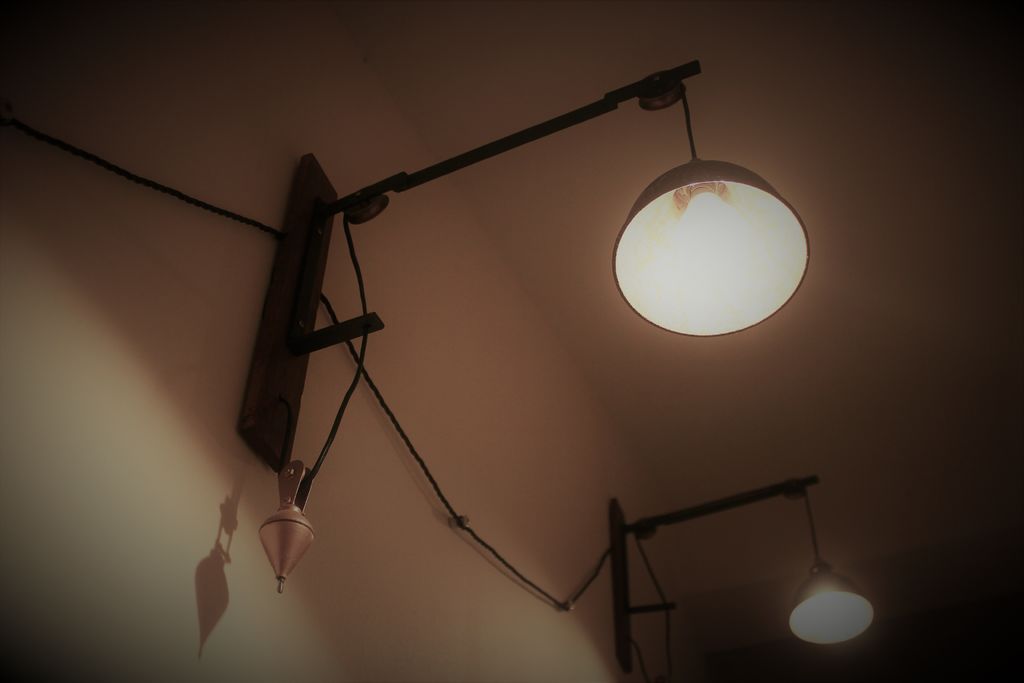
Step 1: Materials
In order to accomplish this project, you need the following materials:
Wood of your choice, only one piece of 1.4cm (approx 0.5") thickness 6.5x40cm (approx 2.5x16")
Flat Iron bar, 5mm (approx 0.2") thickness 2x80cm (0.8x32")
Two pulleys, mine are 4cm (1.6")
Standard electrical wire (better if dark)
Braided electrical wire for connecting the three lamps, only required if you are building multiple lamps connected to a single light source.
A suitable light shade of your choice, i bought this one on ebay.
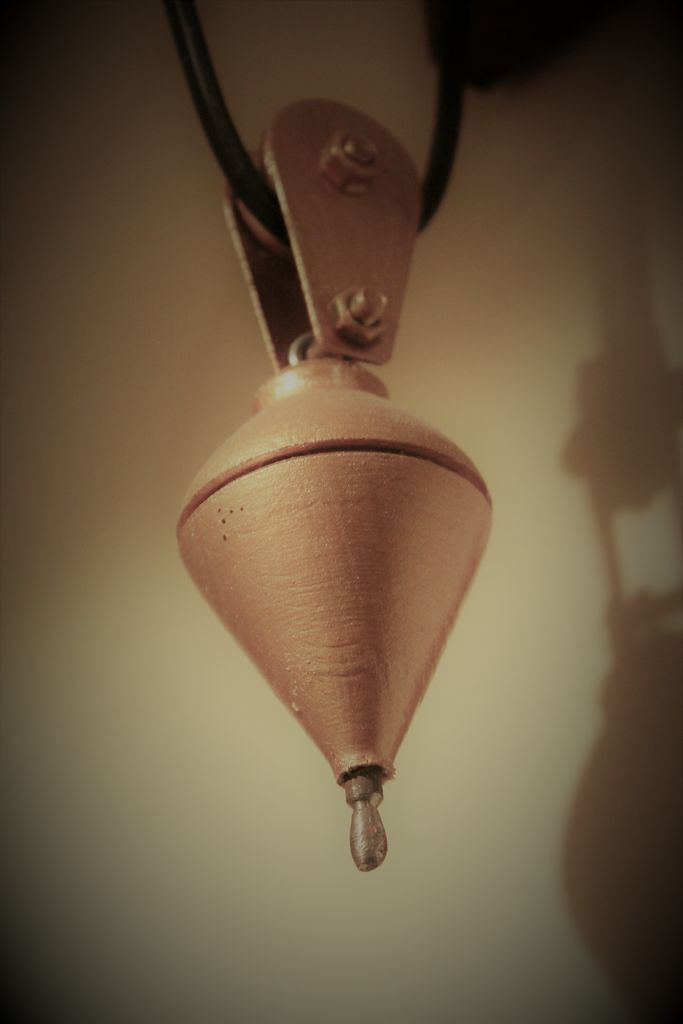
An item to use as counterweight, I used a wooden top with an eye bolt screwed on it, attached to a pulley, finally painted with bronze
Paint for wood and for iron of your choice, I used mahogany red for wood and hammered iron grey for iron
Note that these measures are for my design, but you can change your measures according to your needs/availability
The following tools are also required:
Some kind of saw for cutting wood
Some kind of saw (or better a grinder or similar power tool) for cutting iron
A drill with iron and wood bits
A welder (if you don't have one, you can connect iron using nuts, bolts and plates or some kind of adhesive)
Some nuts and bolts of the same size of your drill bits.
Step 2: The Project
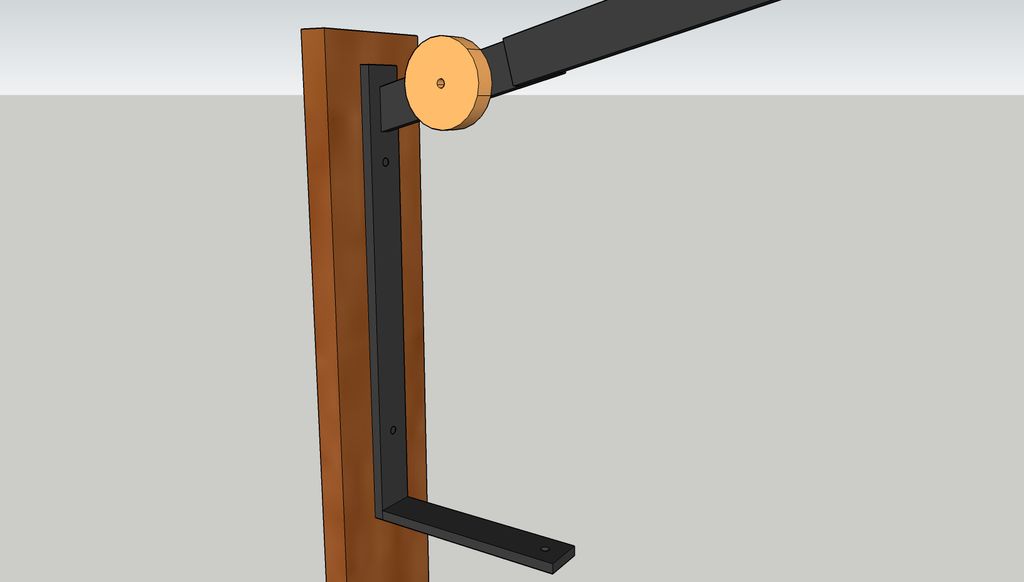
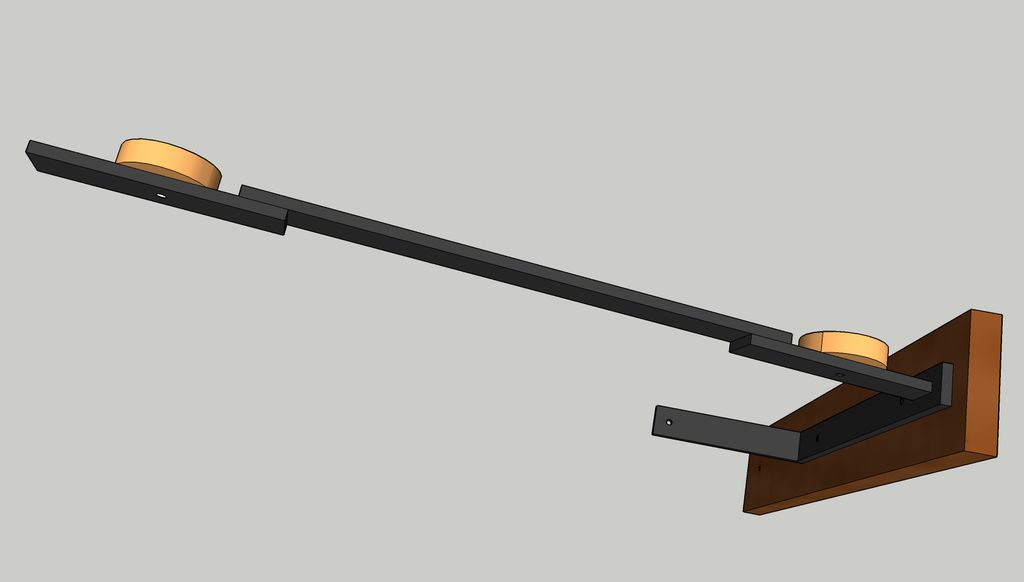
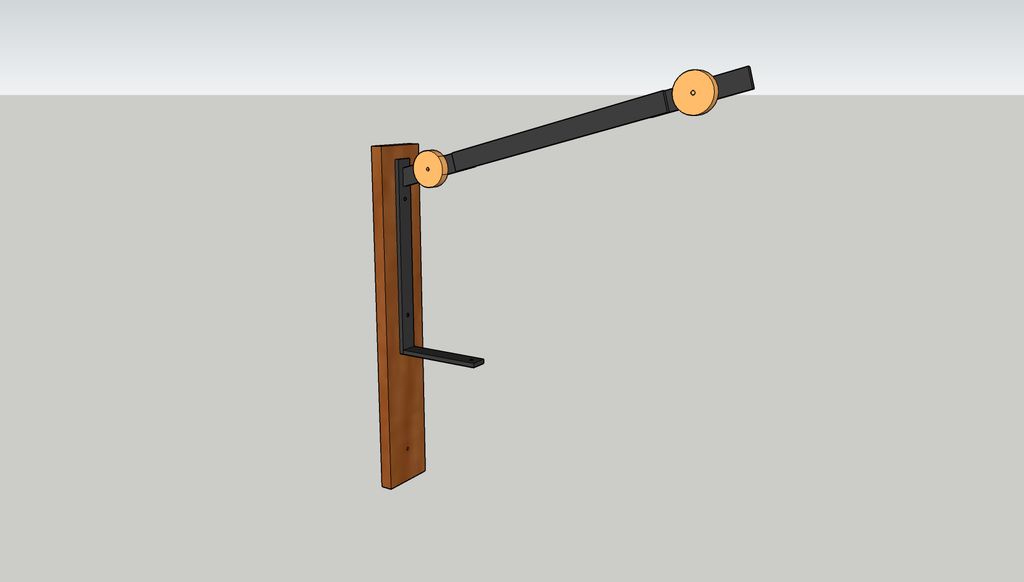
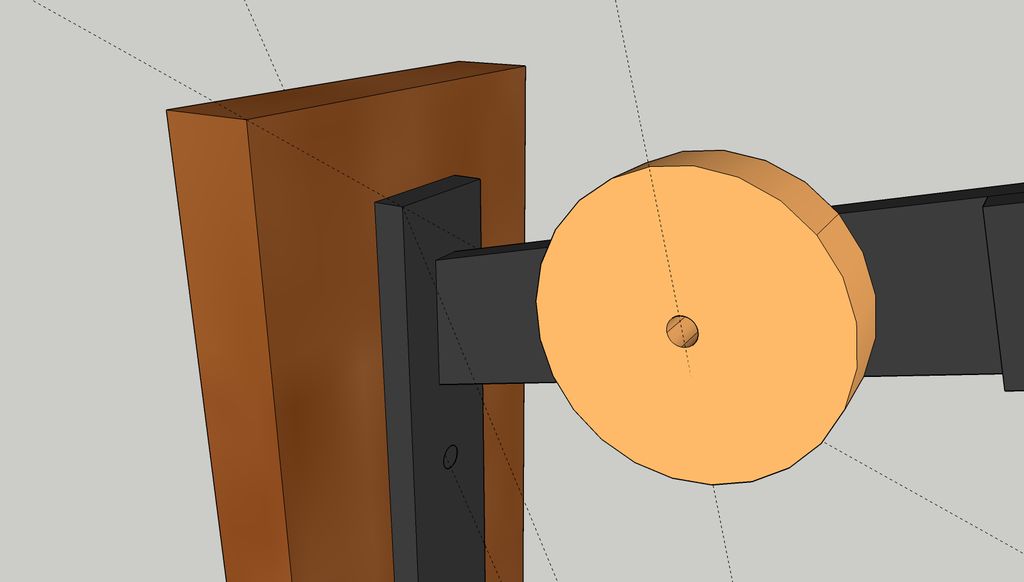
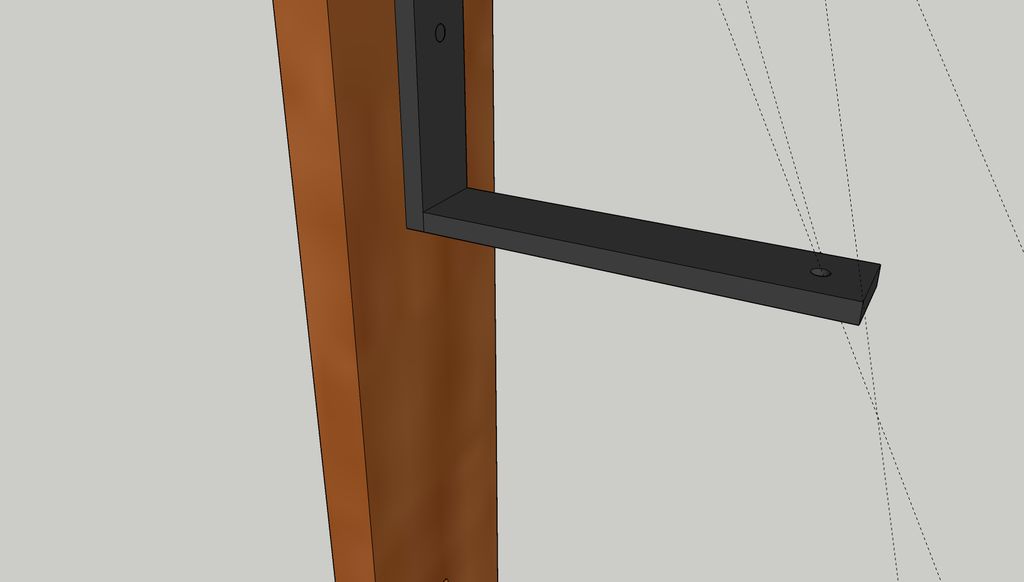
For reference purposes, I draw a Google Sketch model, with all the sizes, I report the cut list for convenience:
Cut your wood to sizes 6.5x40cm (~2.5x16")
Drill a holes at 5cm (2") from the bottom of the wood piece, make sure your electrical cable will pass through.
Cut the iron bar to the sizes:
3 pieces of 10cm (4")
1 piece of 22.5cm (9")
1 piece of 25cm (10")
Cut the end of one of the 10cm piece at 15° (see the note on the picture)
Drill holes in iron:
At the center in two of the 10cm pieces, for installing the pulleys.
at 1cm from the edge of the other 10cm piece, make sure your electrical cable will pass through.
Drill two holes from 4,5cm from the edges of the 22.5 (9") piece, the same size of your bolts.
Drill two holes in wood matching the holes in the previous step, leave 1.5cm (0,6") from the top of the wood piece (see picture note)
Weld or stick the pieces of iron according to the picture, see notes for the distances.
Install the pulleys
Install nuts and bolts to join iron frame and wood.
Connect the light shade to the the electrical wire and mount them on the lamp.
Connect the wire to your light source (please remove power to avoid electrical shocks!)
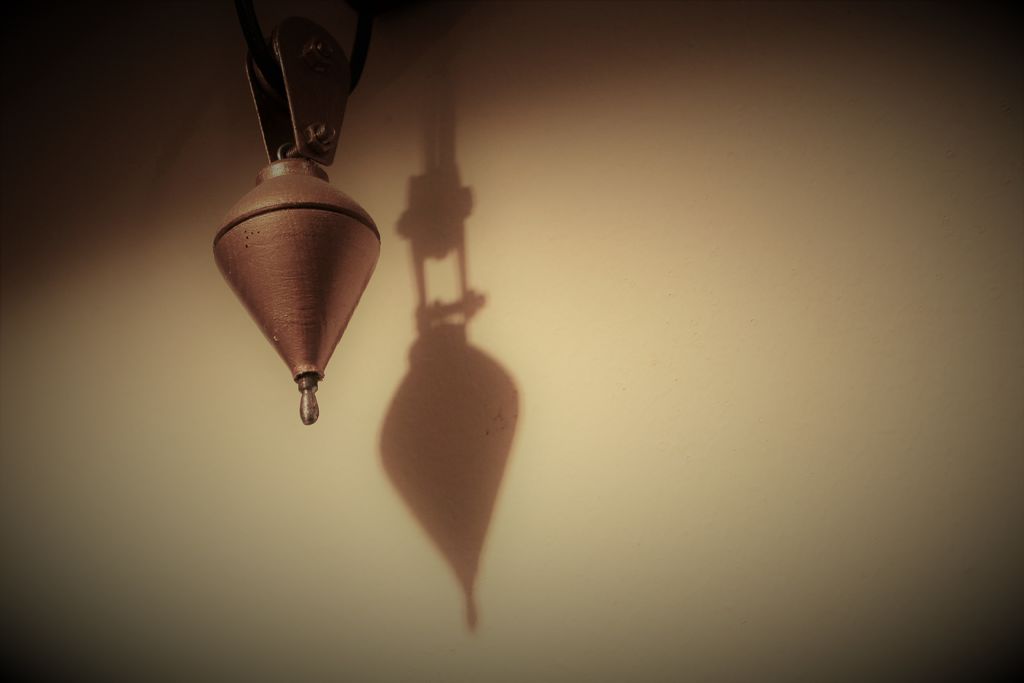
Attach your counterweight to the wire, although it is not strictly required, its shadow on the wall produces a very nice light effect on the wall, see picture.
You're done!
Note: in order to hide connections to light source, I cut an inset on the back of the wood piece using a router. If you can do the same, please do, in order to improve the aesthetic result.
Step 3: Final Result
If you followed the instructions, perhaps with your own personal variations, you should have accomplished something like this.
If you have comments or make the project, please share your impressions and pictures...
Happy working!